|
|
Ever since the first viable control Warrior builds were found, the class has been a staple in constructed play. Having some of the best single target removal, great heal potential and the option to explode with a Grommash burst, it’s not surprise that control Warriors are performing consistently and are often seen wielded with great efficiency (at least by those who can afford the expensive legendary menagerie that it needs).
As the metagame changed, Warrior players tried different build variations in order to find the most optimal way to play the class. The core of the deck remained the same – namely the Armorsmiths, Slams, Executes, Shield Slams, Fiery War Axes and the curve of legendary finishers – but a lot of tuning was done in the middle of the curve. Seen were decks with Yetis,
Sen’jin Shieldmastas, Gadgetzan Auctioneers or even Defenders of Argus, the latter usually considered an odd choice due to the low amount of minions the deck runs.
As the meta shifted again a week ago with the rising popularity of the mid-range Hunter and the heavy ramp Druid, changes needed to be done once again. Below is an in-depth analysis build run by Warrior extraordinaire Kitkatz of Clarity Gaming, one of the pioneers of Warrior controls.
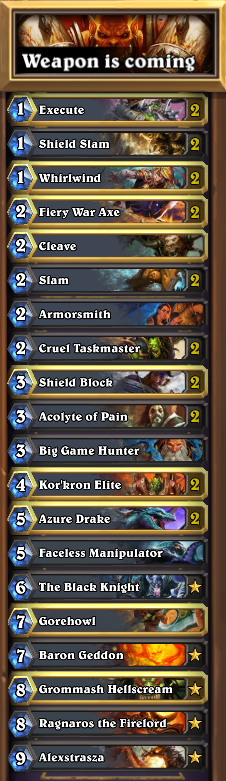
For those unfamiliar with the concept of the build, the control Warrior is a deck which relies heavily on removal, card draw and armor mechanics so it can live till his finishers are ready to hit the field. The low end of the curve consists of cards like Shield Slam, Slam, Cruel Taskmaster, Execute and Fiery War Axe which are cost efficient ways to remove enemy minions.
The middle of the curve is taken mostly by card draw and heal mechanics like Shield Slam and Acolyte of Pain as well as a handful of minions which can apply pressure and draw removals from the opponent: Frothing Berserkers, Chillwind Yetis, Shieldmastas in different quantities depending on player’s preferences and the state of the meta.
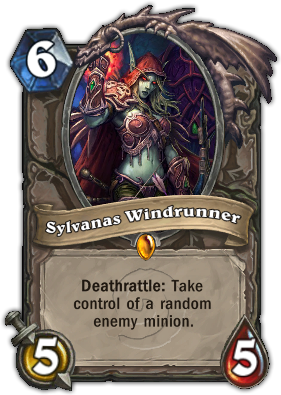
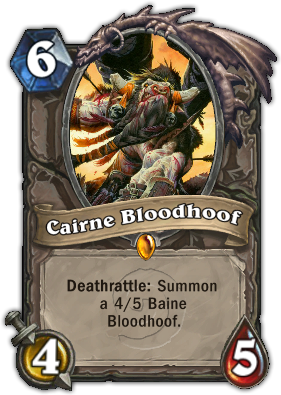
Once at 6 mana, the Warrior enters the phase of the game where he starts casting his finishers. Sylvanas and Cairne open the late-game curve, followed by Baron Gedon, Gorehowl, Ragnaros, Alexstrasza and Grommash. It’s an expensive and flashy iteration of the good old philosophy of “we have more men then you have bullets”.
Now that we’ve established what the deck does, let’s continue with how the most recent version differs from the previous builds.
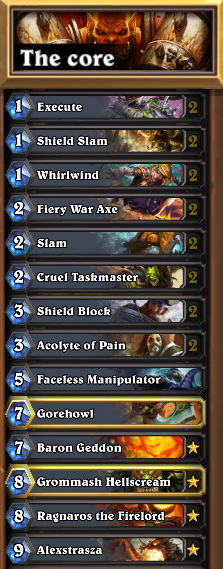
As we mentioned, the core of the deck remains unchanged. You have your [card]Shield Slam[/card]s, [card]Slam[/card]s, [card]Execute[/card]s, [card]Cruel Taskmaster[/card]s, [card]Acolyte of Pain[/card], various Axes and, of course, the finishers. They are the gears which make the deck work and are the foundations on top of which the various iterations are built, this modern one included. That’s your point removal, card draw and big guys, simple as that.
-1x [card]Armorsmith[/card]: Previous variations of the build always ran double Armorsmith as the card has the amazing potential of snowballing your life out of control. It’s extremely valuable against aggro decks like the rush Hunters and is of great help in the Warrior mirror where having more armor is an important factor in the “who has the stronger Shield Slam” race.
Nowadays, however, it’s hard to extract maximum value out of the Armorsmith. The rush Hunters have mostly been replaced by the mid-range Savannah Highmane builds which, coincidentally, run double [card]Stampeding Kodo[/card] which destroys the Armorsmith without triggering his effect. As the Kodo is not exclusive to Hunter’s only – in fact, most of the slower decks run at least one to counter-act quicker decks – having two Armorsmiths in the deck is a waste of card slots.
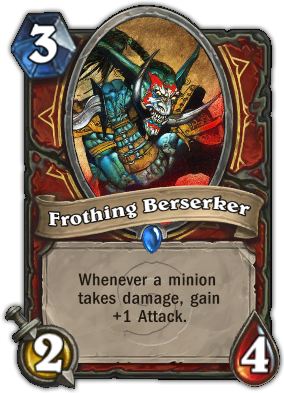
- 2x [card]Frothing Berserker[/card]: Players will likely find this the most surprising change as two weeks ago the Frothing Berserkers would be included in the “core” cards of the Warrior. Nowadays, however, he suffers from the same problem as the Armorsmith: he needs to be played alongside other cards to get his attack up and before he does he falls victim to the Kodo. His removal also makes the curve lighter on 3-drops, meaning you won’t have to choose between him and Shield Block or Acolyte of Pain, not to mention most of the time the latter two are more valuable.

These three cards are most tangible changes compared to older control versions
- 1x [card]Brawl[/card]: Brawl is a card that’s been coming in and out of control Warriors depending on the state of the metagame. While it shines against Shamans and Zoo, however, there are a few major concerns which make the card inefficient in the current meta.
Let’s start by pointing out that there are three ways to play Brawl (also, for the sake of the example, let’s assume that your board is empty and your opponent’s is not, as this is the situation that most often calls for a Brawl):
- Play it without any minions on your side – this kills all but one enemy minion.
- Play a friendly minion, then play brawl – this leaves either one of your minions
- Play Brawl, then play a friendly minion – this leaves one minion on each side
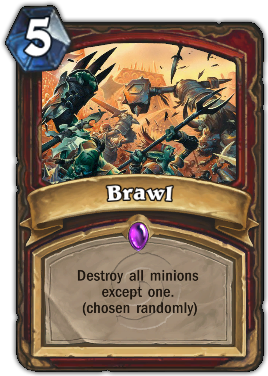 In three of these four scenarios (“2” has two different outcomes), the tempo remains with the opponent. In the case of “1”, he can play more minions and since he’ll have at least 5 mana to spend, you’ll be in trouble once again. In the case of “3”, he can also use his remaining minion to kill yours while flooding the board at the same time, meaning you’re in not much better position than in “1”. If “2” goes the opponent’s way, it means you just lost a minion in the process of giving your opponent tempo and tempo really is everything in Hearthstone – you want to be the one who’s in control of the game and leaving enemy minions alive is not doing that.
So all in all, you have to hope that:
- You have a cheap minion to play before the Brawl and that it survives (low chances), or
- Brawl leaves an enemy minion that’s not a big threat, or
- Brawl ends up being mana-efficient, i.e. the cards you kill with it cost more than 5
On top of that, it’s worth pointing out that Brawl triggers deathrattles, so the Cairnes and the Savannah Highmanes give zero damns about it.
If you are feeling lucky with the RNG or are a hypothetical Pole from DogeHouse, go ahead, play Brawl, but know that statistics will usually not be on your side.
-1x [card]Cairne Bloodhoof[/card]
-1x [card]Sylvanas Windrunner[/card]
It’s important to note that Cairne and Sylvanas are still very good cards but are very susceptible to silence effects. Since most of the decks nowadays run Ironbeak Owls to counter various threats or activate their Ancient Watchers or Starving Buzzards, however, they have become less valuable since they don’t have an immediate effect on the board and, when silenced, they are cost-inefficient for the stats they have (4/5 for 6 or 5/5 for 6 doesn’t pass the vanilla test).
Still, if you see the amount of silence effects diminishing or you lack some of the other finishers, do include them.
Gone and gone
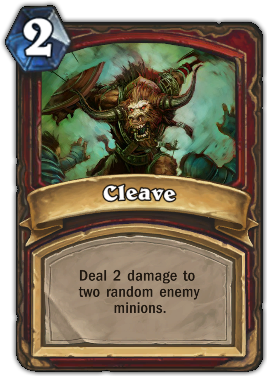 +1x [card]Cleave[/card] – Cleave is exceptionally good against Zoo since you can destroy his Coin + double 1-drop opener, killing two cards with one. It will also clean the deathrattle Hyeans of Savannah Highmane, dispose of Shaman’s totems and help you against token Druids. If you are too afraid of aggro decks, consider adding an extra Cleave but know that they’re almost useless in control match-ups and can clutter your hand if you get two of them.
+2x [card]Kor'kron Elite[/card] – Usually a card that’s only encountered in aggro Warriors, the Kor’kron Elite is way more potent than you might think as it does different things in different match-ups:
- In general, it’s an extra source of removal. Even if 4 damage for 4 mana is not really efficient, the fact that it cleans the board is what counts. His 3 health also keeps him outside the range of most sweepers like [card]Explosive Trap[/card] or [card]Consecration[/card].
![]() If the enemy board is empty, it’s a great way to apply pressure and draw out removals.
If the enemy board is empty, it’s a great way to apply pressure and draw out removals.- It’s a way to put the Hunter on the clock since you’re dealing 4 damage every turn compared to his 2. Because he’s outside Leokk, [card]River Crocolisk[/card] or Explosive Trap range, he’ll likely draw out a [card]Kill Command[/card], [card]Hunter's Mark[/card] or an attack from [card]Eaglehorn Bow[/card], which means these are not hitting your face or your finishers.
- He’ll bait the [card]Wrath[/card]s of the Druid and can be used to snipe their [card]Druid of the Claw[/card] in charge shape. He’s also 4 extra points of damage, making it easier for you to kill Yetis or 4/6 Druids.
- He’ll chip down Warrior’s armor and maybe even bait a Shield Slam or a Fiery War Axe charge. With the Warrior mirror being all about who has the more answers, baiting one out or killing their Acolytes is great.
- He kills those annoying [card]Shieldbearer[/card]s which are outside Fiery War Axe range. He’ll also remove most of Zoo’s minions and sometimes will even stay alive.
- He’s outside [card]Holy Smite[/card] and [card]Shadow Word: Pain[/card]/[card]Shadow Word: Death[/card] range against Priests.
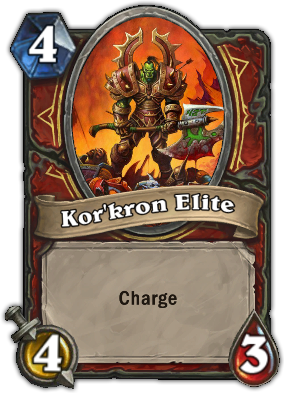 If the enemy board is empty, it’s a great way to apply pressure and draw out removals.
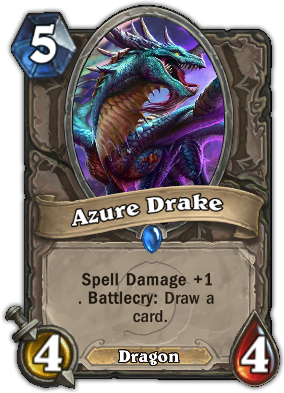 +2x [card]Azure Drake[/card] – The Drakes are one of the best five drops in the game, hands down. They work even better in Warrior as they provide card draw (and immediate one at that), spell power and a 4/4 body which, come next turn, can start doing all those cool stuff that the Kor’kron Elites are doing.
The spell power effect also means that your [card]Whirlwind[/card]s are now [card]Starfall[/card]s, meaning the Hyenas are no longer a problem, and that Cleave hits for 3 which is pretty huge too. This will also clear most of Zoo’s board and suddenly Warrior’s problem of having no good board sweepers is solved. Cutting Brawl out now makes even more sense.
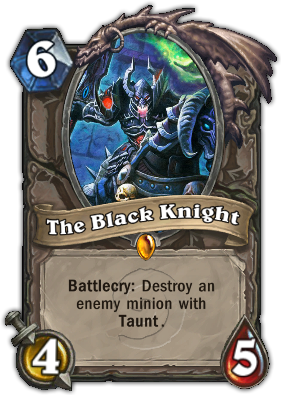 + 1x [card]The Black Knight[/card] – Lots of decks are nowadays forced to run taunt minions because the Hunters are causing them problems, which means Black Knight is amazing once again. Aside from killing [card]Druid of the Claw[/card], [card]Ancient of War[/card] (staple in Druid ramp), [card]Sunwalker[/card] (seen in Druid ramp and anti-aggro Rogues), Zoo’s taunts and Hunter’s [card]Houndmaster[/card]s, his 4/5 stats make him hard to remove and will almost always draw out a removal, making the game a bit safer for your finishers.
+ 1x [card]Big Game Hunter[/card] – Mostly a removal against Handlocks and the mirror match-up. Against classes that lack big threats, just play him as a 4/2 minion. If the meta shifts away from control decks even more, consider swapping him out completely.
| You will have some trouble against ramp because early Yetis or Cairne are hard to deal with if you don't have [card]Execute[/card]. They reach the late game faster meaning their threats come earlier so be prepared to dispose of them in the most efficient way. As with every control vs control match-up, it's all about who has better draw and who has more answers. |

|
The biggest problem here is dealing with the Savannah Highmane. Keep your Shield Slam and Cleave for them. If you're running into such Hunters too often, add another Cleave of a Spellbreaker.
|
|
That's an easy match-up. Your Armor Up ability counters their burn and you have plenty of early game removal to destroy their T1-T3 turns. Be careful of their [card]Water Elemental[/card]s and try to not get your character frozen so you always have the option to swing in with your weapons. In general, the control mages should be easier than aggros since you can outlast the former and because you have cost-efficient ways to deal with their finishers. Additionally, if you can bait an early [card]Polymorph[/card] it's an almost guaranteed win since they can't 1-for-1 your Alexstrasza, Grommash or Ragnaros. |
|
Another easy match-up because Paladins are not really strong in today's meta. In general, aggro builds will give you more trouble because they can rush you down if you don't draw Whirlwind or Cleave and they can catch-up to your hand size with [card]Divine Favor[/card]. At least they don't have Steady Shot, though. |
|
Very favorable match-up. Kor'Kron Elite, Azure Drake and un-enraged Grommash are all immune to Priest's removal and you can assume the beatdown role and finish them quick. Additionally, they can't play Injured Blademaster on T3 without Circle of Healing because he's withing Fiery War Axe range, so they're even slower. |
| From my experience, this match can swing from one man's favor into another and it mostly depends on who gets the better mid-game. Through Armor Up and Shield Block, you can easily go outside the OTK range of miracle and Malygos Rogues but if they start pressuring you with their mid-curve drops or Assassin's Blade then you're most likely dead. Tempo is a bit harder because they can apply pressure on every turn and snowball the board out of control. |
 | By far the most difficult match-up for control Warrior. Shamans will flood the board faster than you can clear it. They will pressure you with Feral Spirit, Unbound Elemental and Flametongue toteam early and eat away tour armor. They will Earthsthock your Acolytes, Lightning Bolt your Elites and Azure Drakes and Hex your finishers. They will match your drawing power with Mana Tide Totem or Gadgetzan Auctioneer and they have equally good burst with Al'Akir, Argent Commander and/or cheap burn spells. It's not unwinnable, of course, but the closest to it that there is. |
 |
The problem with this match-up is that you won't know what you're facing which makes mulliganing correctly difficult. Against Zoo, you want your Fiery War Axes, Slams and Cleaves while against Handlock you want to dig for Executes and Big Game Hunters. Overall, the two match-ups are equally hard (or easy) and it depends largely on what each side draws. Missing an Execute at the right moment against Handlock or having to use it on a Twilight Drake puts you in a great disadvantage while Zoo is a well-rounded deck that doesn't really have a weak match-up and can escalate very quickly and run you over.
|
 |
You won't face many aggro Warriors these days so prepare for a control mirror. Like agains the Druid ramp, this match-up is all about baiting removals and having more threats than the opponent has answers. At each point of time, know how many Executes and Shield Slams are available and try to lure the opponent into using the incorrect reponses as often as possible (for example, using an Execute on Baron Geddon or Azure Drake is usually considered a wrong play, because this leaves one less answer for Alexstrasza, Ragnaros or Grommash). Around T4-T5, one of the decks will also assume the beat-down role by getting out their Kor'Kron Elites or Azure Drakes out first and the other will have to respond. Know your role at each point of time and keep the above paragraph as a guidance to what a correct and incorrect play is. |


Like what we do? Follow us on Twitter to keep up with the pulse of Hearthstone!
Follow @GosuGamersHS