
In this guide we will be looking at one of the most iconic maps in the history of Counter-Strike, de_dust2. In particular we will look at different positions and areas on the map and what they are called, according to CS:GO jargon. People appropriate various colourful terms to describe certain areas and positions, however our objective is to teach you the most popular names associated with them.
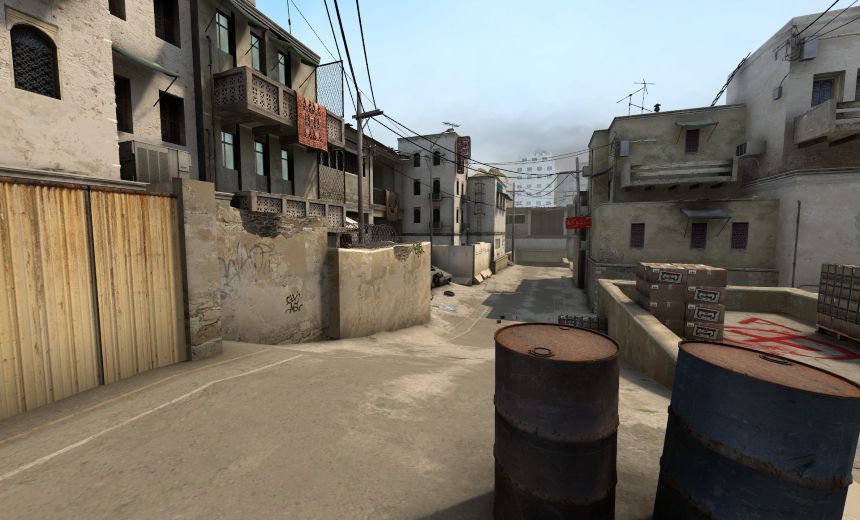
Firstly, let break down the map into three segments, purely for simplicity’s sake. Below is a birds-eye view of the map that has been divided into three segments: Counter-terrorist, contested and Terrorist sides.

Map source
The Terrorist side describes the area of the map the Terrorist’s control from the start of each round, if a Counter-terrorist is spotted in this area, it is considered an aggression, vice versa is true for the Counter-terrorist side. The contested area describes a section of the map that is prone to clashes between the two opposing sides. This is where confrontations between the two teams quite often happen.
The Terrorist Side
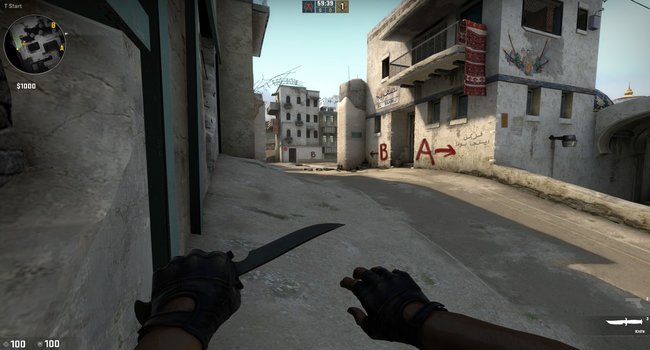
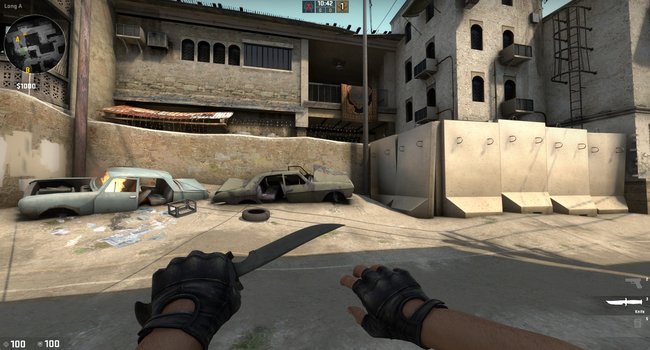
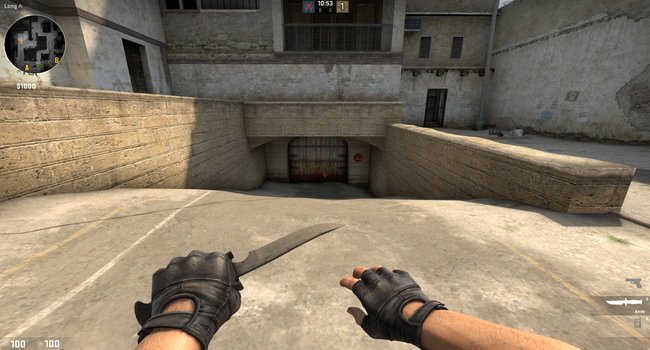
T Spawn
Most are acquainted with this area, as it is where the Terrorist team spawns. There are three routes you can take: suicide, T ramp and Outside long/mid. Try to stay away from '‘suicide’', especially on buy rounds, as it is very likely that a CT AWPer will be stalking it like a hawk.
Suicide
This area is called ‘suicide’ for a reason. Unless it’s a pistol round, you're insane at jump-scouting, or it's the opponents’ eco-round, refrain from entering this area as you WILL get shot down by an AWPer from CT Mid.
T Ramp
This area holds the shortest route from T spawn to B site. If you’re rushing B with your teammates, or you want to push into lower tunnels, this is your go-to.

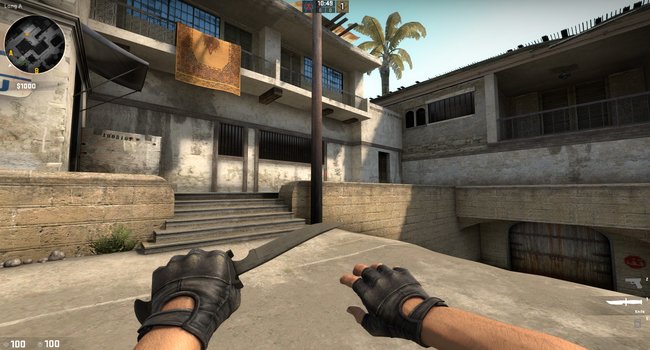
Upper Tunnel
An area predominantly held by Terrorists, upper tunnel is a very important area, as it can potentially give insight into the amount of Counter-terrorists on B site, as well as a potential pick for your team to capitalise off of. You must, however, be wary of pushes from the CTs from lower tunnel that can ruin your B push plans.

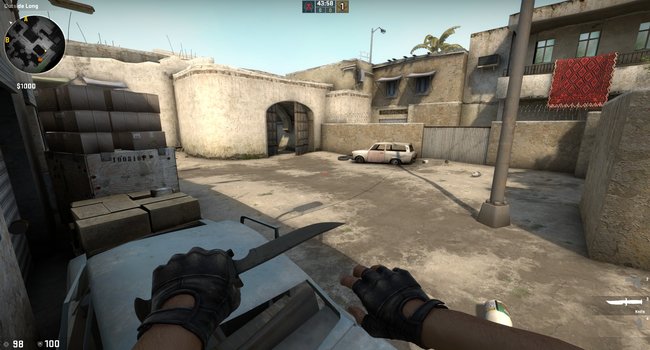
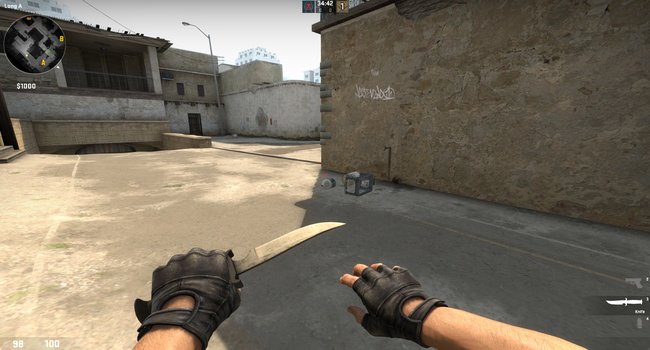
Outside T
This area hosts two routes: double doors to long and outside T to upper mid. This is where you need to choose what your team is doing in the particular round. If you’ve decided to go to the middle area, make sure you or your teammate watches double doors for a potential aggressive CT push, as no one likes getting backstabbed.
Upper Mid
So you’ve decided to go upper middle. Be very careful as on buy rounds there will be a CT AWPer at the middle door that will not hesitate to pick you off if you don’t have a smoke or teammate to cover you.

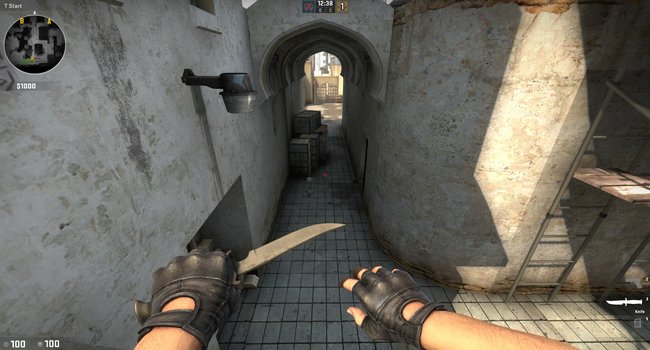
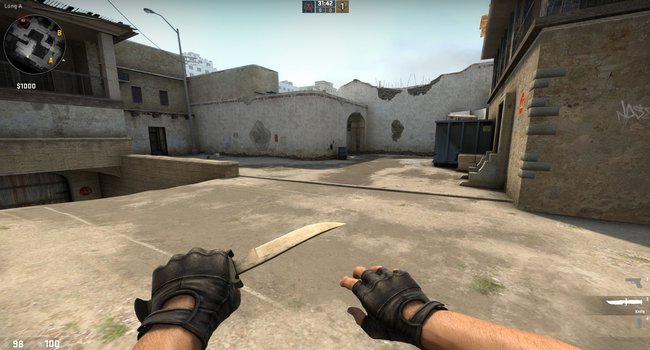
Double Doors
Going double doors is quite dangerous as it is prone to getting spammed with HE grenades. These can be devastating to your health, so make sure to wait the grenades out before entering, however, in the event that you have already entered and are rushing, don’t block anyone from moving in the area as, again, the grenades will hurt.
The Counter-Terrorist Side
CT Spawn
It’s a safe bet to say people know most people are aware of this callout. You can go two ways, A site and B site. Alternatively, you can buy a long range weapon like the SSG 08 (scout) or AWP and pick people through the slit in mid doors. Be very careful doing this, as in most situations the terrorists will have the advantage when peeking, because they don’t need to move far from their spawn to assume a peeking position.

B Ramp
It’s literally the ramp that leads to B site. Two main entry points are window (the hole in the wall to the right) and doors (the two doors to the left).

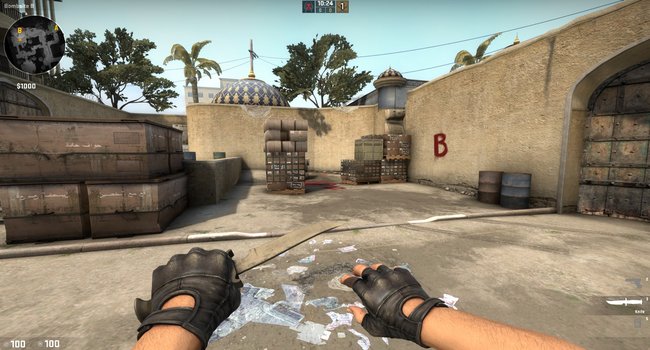
B Site
If you play B, this will frequently be the area from which you will hold B tunnels. There are a few peeking positions, these will be discussed in future guides.
B Car
Another popular angle to hold off terrorists pushing from doors/tunnels, be very careful whilst holding this position, however, as it is commonly pre-fired by the opponents entering B site.

B Plateau
This area favours long-range rifles/pistols. The box to the left is commonly used as a defense from opponents pushing from B tunnels. This spot is also commonly pre-fired, so make sure to make your shots count.

Red Box
A red box situated on the B site. Frequently used as cover by CT’s holding B. Make sure to utilise its defensive purposes as much as you can, especially when watching tunnels. You can also assume various peeking positions around it.
Elevator
This area is utilised in two situations: when you want to boost a teammate/get boosted for a swift short aggression, or when retaking A site. Generally a very awkward and predictable position, so try to refrain from using it too frequently, as it is open to a plethora of angles.

A Ramp
The ramp that leads to A site. This is where you can hold to defend the site from pushes from short. A very strong position to assume as you can hide behind the wall seen to the left in the image below. Also allows you to shift around, adding an element of surprise. Make sure to have a teammate watch terrorists coming from double doors, as you are completely exposed to A long.

A Site
Another strong position to hold off aggressions from short/A long. Prone to getting set on fire via molotovs and exploded via HE grenades, so be careful and make sure you have some sort of back up either from A long or CT spawn/elevator.
Long Car
Try to assume this position when you are covered from a teammate at A site, as it is an open angle if opponents have entered A. Good for ‘jump-scouting’ opponents at A long and generally gathering information through jumping and slightly peeking out. Can get naded’ and molotoved by opponents coming from double doors, so be careful.
Long Corner
If you’re an AWPer, you’ve probably played this position. The main objective of a person holding this position is to pick off an enemy/enemies entering A long from double doors. Once you get a pick, move away as re-peeking can prove lethal, especially when the enemy has the numbers. Ask a teammate to flash you over to ease peeking and to give you the competitive advantage. Also bear in mind that you can get flashed/smoked out yourself by the same enemies coming from double doors.
Contested
Long
This is where the aggressive Ts coming from double doors and CTs that have assumed the long corner/pit position clash. Most times the CTs will have the edge due to spawn positions, however on occasion the terrorists can get a decent spawn and make it faster than the CTs. Use flashbangs and smokes to your advantage when playing long, as they can make or break your advances/holds. Work on your aim and destroy the opposition by either holding well or getting crazy entry frags.
Long Plateau
Generally speaking players will not assume this position from the CT side, especially at the start of the round, as it is open and there is no substantial cover. It’s worth knowing that it exists and what it is called, however.
Pit
An interesting position to assume if you’re holding off an A long push. If your aim is on point, by all means hit this place up, as it can be amazing when coupled with a teammate helping you out at long corner. Always keep in mind that your head will most likely be the only target when peeking from this position, so again, make those peek shots count.
Catwalk Mid
The fastest route from upper middle to short for the Ts. If they don’t smoke middle doors/xbox this might as well be called suicide #2 if the CTs have good aim. Good for AWPing from the CT side’s mid doors, but realistically if the Ts will be using this route then nine times out of ten mid doors/xbox will be smoked to prevent you from getting easy frags. Terrorists be wary of the CT AWPer in middle doors, counter-terrorists be aware of easy frags that you can pick up by exploiting the lack of a smoke.

Lower Mid
Terrorists, this area is open to two angles: mid doors and short. Generally speaking this area will be dominated by the Terrorists , especially at the start of rounds, however the CT presence must not be ruled out, as the occasional aggression from the blue force via either a mid push or a short rush can, in fact, be devastating.

Short
This will frequently be held by a CT trying to push back a T short push from mid catwalk. As a CT beware of potential terrorists in lower tunnels trying to pick you off. A very important fact to notice is that if you’re at the very back wall of short, your head will not be seen from lower tunnels. Terrorists, try to flash the CT holding short and dispatch him as soon as possible, to continue your advancement onto A site through catwalk. Be wary of various holding angles in short, such as the position behind the wall on the right, shown below.

Xbox
See that slit in double doors, terrorists? Fill that in with a smoke, immediately, if you want to climb up onto xbox, or face death via AWP/rifle. Another fact is that if you’re standing full height in the right corner, your head will poke out over the box, so if you’re peaking make sure you’re confident you will out-aim the opponent in middle. CTs, exploit the fact that jumps make a lot of noise and try to get some lucky kills through smokes. If there is no smoke, smoke em’. Be careful, however, if mid doors gets smoked you can get rushed through doors after getting flashed.

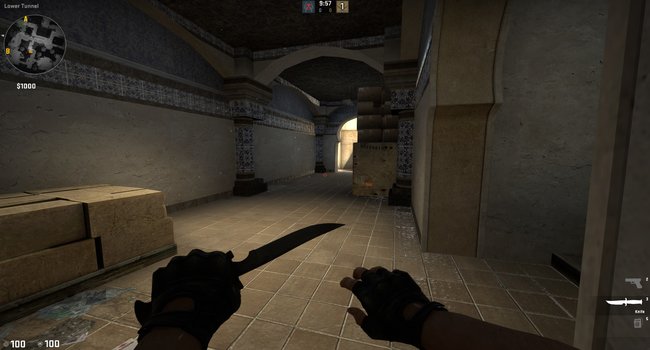
Lower Tunnel
Two threats for Ts holding this position: an aggressive push by a CT through mid doors, or a CT at short looking for a pick in lower tunnels. Try to out-aim the opponent up in short, or spray down the rusher coming through mid doors. CTs, try to flash this position and get some nice picks, forwarding your lead, oh and try not to get killed, because if you’re up short, the only chance the T has to kill you is through a headshot, unless you’re right up close near xbox, in which case you’re dead to his teammates at upper mid anyway.
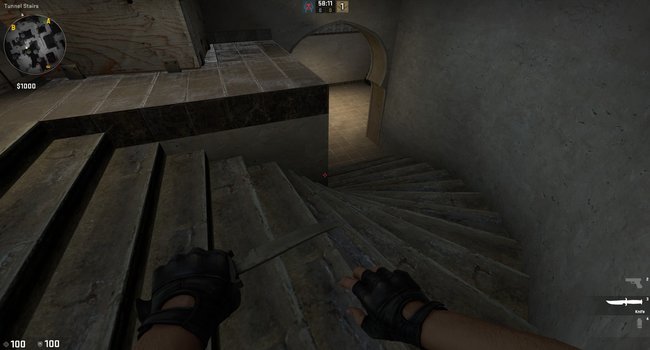
Stairs
Terrorists be careful as the CTs might get aggressive on you and rush this area. The rush can be complemented by flashbangs pre-empt this and keep it at the back of your head if mid doors are smoked by the opponents. CTs flash the hell out of stairs and hope to catch one of the Ts out of position. Or you could just stand behind the box in lower tunnel and sneak up on them up to your playstyle really.
To conclude the guide, make sure to memorise as many of these nicknames/call-outs as you possibly can. This will objectively help you expand your abilities to communicate in CS:GO, ultimately contributing to you grinding up to the rank you aspire towards.
Make sure to stay tuned to GosuGamers and be on the lookout for upcoming guides, as they will be published on a weekly basis.