gosugamers
gosuentertainment
gosubattles
Games
Articles
Tournaments
Matches
Rankings
404
Page Not Found
The page you are looking for might have been removed, had its name changed or is temporarily unavailable.
Roblox reportedly continues efforts to move child sexual abuse lawsuits out of court
Roblox is reportedly pushing to move child sexual abuse cases into arbitration, away from public scrutiny.
Gaming
Sarah "KZ" Zulkiflee
Xbox reportedly preparing for layoffs in June amid major business reset
Xbox reportedly prepares for layoffs, as the new CEO outlines business reset plans and challenges ahead.
Resident Evil Veronica will be a third-person game, set three months after Resident Evil 2
Claire Redfield is making her grand return.
Timothy "Timaugustin" Augustin
Here are all teams participating in the Dota 2 Esports World Cup, tournament dates, format, and more
A total of 24 teams will head to Paris next month for the US$2 million Dota 2 EWC.
Dota 2
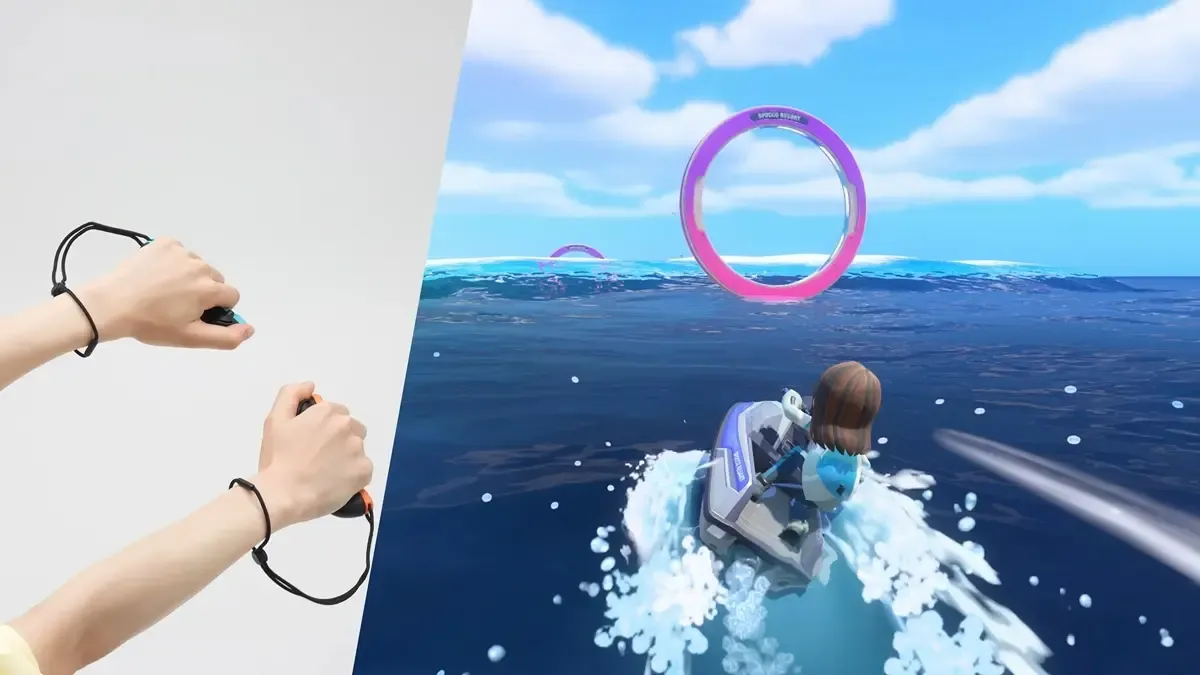
Nintendo Switch Sports Resort takes players back to Wuhu Island on Nintendo Switch 2
The era of Nintendo Sports begins anew.