gosugamers
gosuentertainment
gosubattles
Games
Articles
Tournaments
Matches
Rankings
404
Page Not Found
The page you are looking for might have been removed, had its name changed or is temporarily unavailable.
Monster Hunter World becomes Capcom's "best-selling single title of all time", sells 30m copies
Monster Hunter: World has sold like hotcakes.
Gaming
Timothy "Timaugustin" Augustin
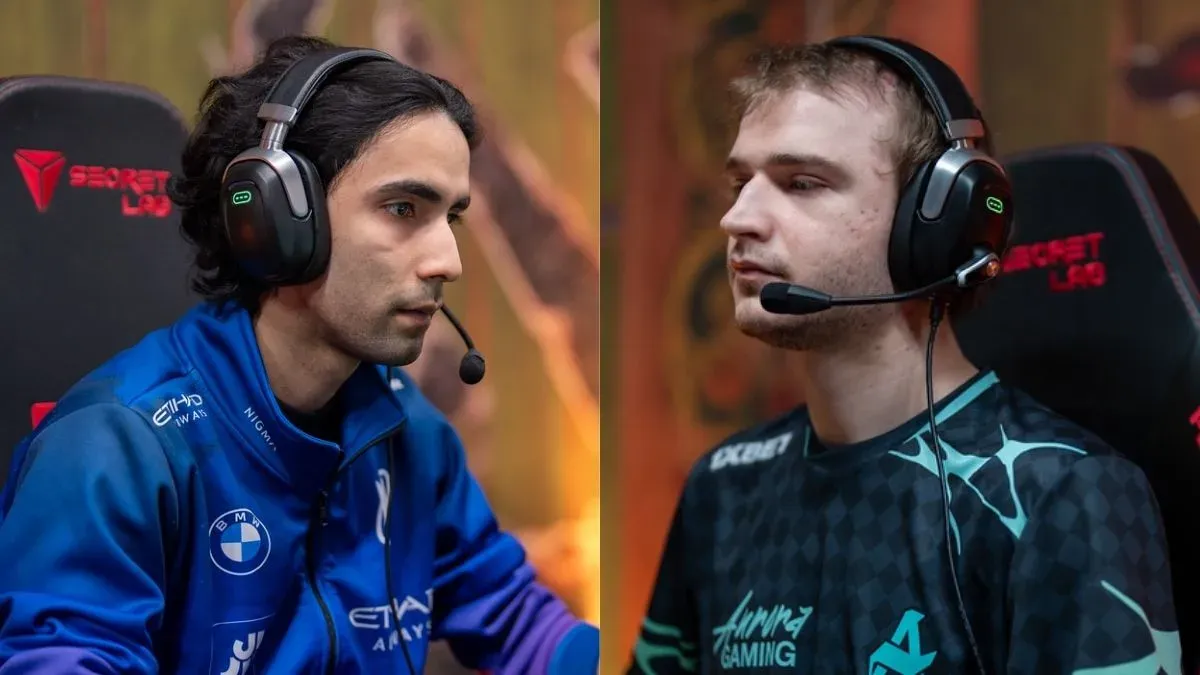
SumaiL and Lorenof join Nigma Galaxy ahead of Dota 2 EWC and TI qualifiers
Nigma Galaxy's roster shift sees SumaiL assume the carry role, while Lorenof takes over the mid lane.
Dota 2
Sarah "KZ" Zulkiflee
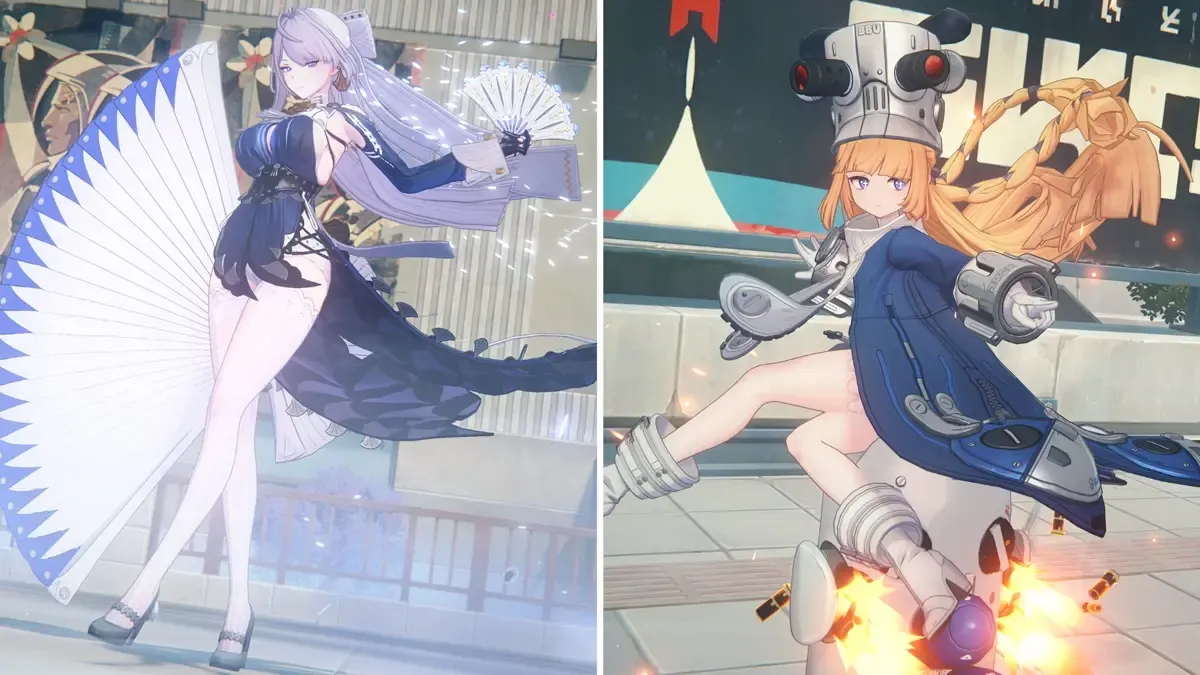
Everything announced for Zenless Zone Zero 3.0's banners, new region, and free S-Rank Agent
Three S-Ranks kicks off Zenless Zone Zero Season 3.
General
Planet Zoo 2 shows off gameplay trailer with aquatic and flying animals, launches in October 2026
Planet Zoo 2 is launching this October with more animal species.
Infinity Ward releases trailer for Call of Duty: Modern Warfare 4's extraction shooter mode DMZ
The evolved extraction shooter mode DMZ, alongside MW4, is launching on 23 October.