gosugamers
gosuentertainment
gosubattles
Games
Articles
Tournaments
Matches
Rankings
404
Page Not Found
The page you are looking for might have been removed, had its name changed or is temporarily unavailable.
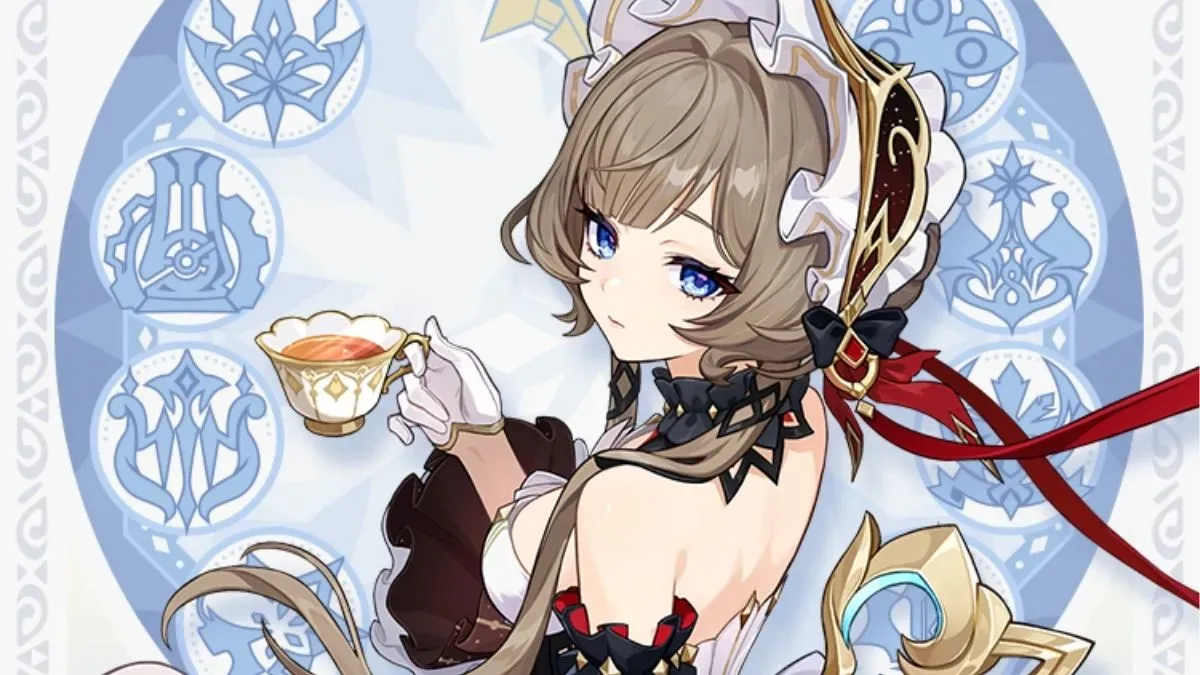
Genshin Impact unveils Sandrone as next playable character
Sandrone returns from the dead to become your next traveling companion!
General
Arianne "YanKu" Blanco
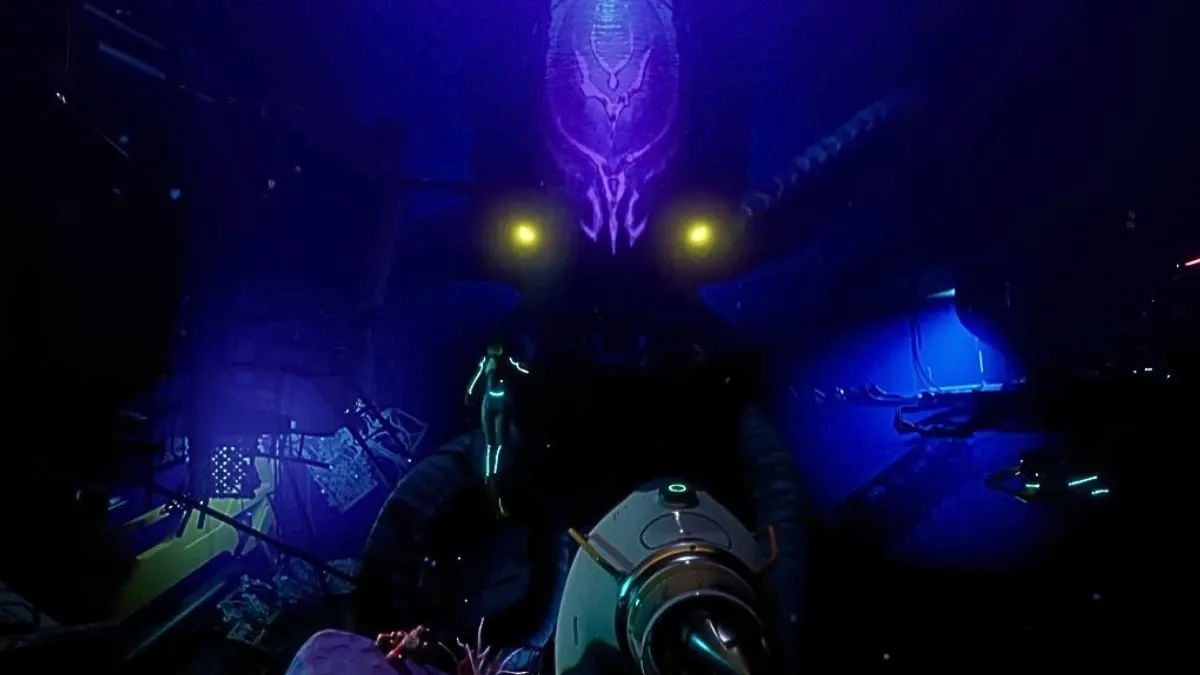
Subnautica 2 sinks its teeth deeper with four million copies sold within a week
The wave keeps getting bigger.
Gaming
Anna Bernardo
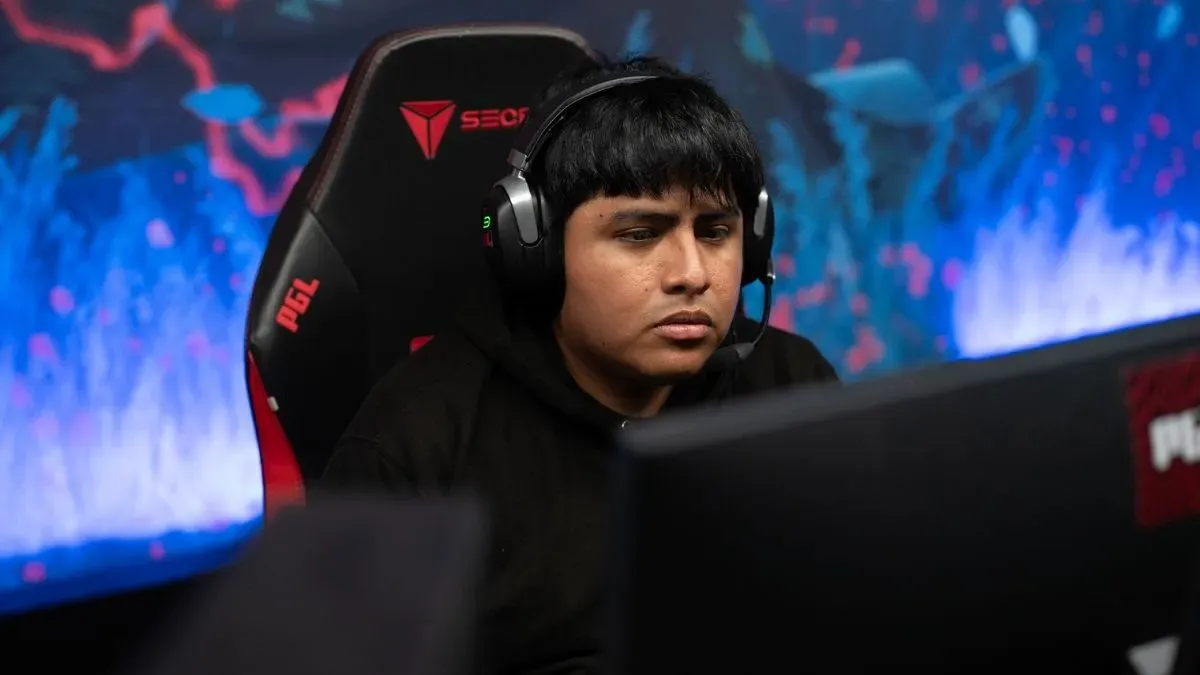
PARIVISION claim second DreamLeague title with victory at DreamLeague Season 29
After a slow start to the season, PARIVISION have reclaimed their place among the biggest contenders for The International 2026 in August.
Dota 2
Kurt "Gosu_Kurt" Lozano
Roblox Grow A Garden adds new enemy, Wasp King, and more rewards to its third Bizzy Bee update
Grab your pitchforks.
Sarah "KZ" Zulkiflee
South America's PlayTime secure the final direct invite slot to the Dota 2 Esports World Cup
PlayTime is the fourteenth and final team to secure a direct invite to the Dota 2 Esports World Cup.
![An image of No[o]ne and 9class from PARIVISION.](https://static.gosugamers.net/90/f9/da/845278f1bf7f990f521e51e5ef2396ce86165b6ee2b3950b713ba443ad.webp?w=1600)